


You’ve finally built your greenhouse, and you’re ready to cultivate plants. How do you actually get started after building the structure? This middle step is often forgotten about when we talk about cultivating plants, so allow us to teach you what to do once your greenhouse has been assembled and is ready to start growing plants.
Maximizing Your Space
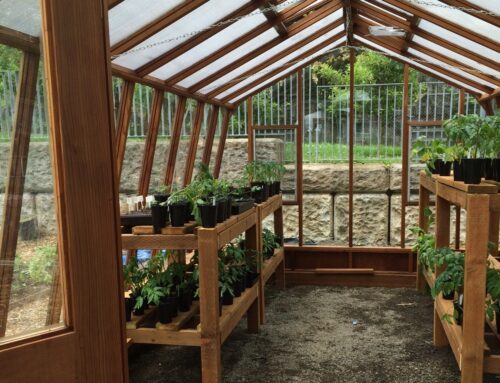
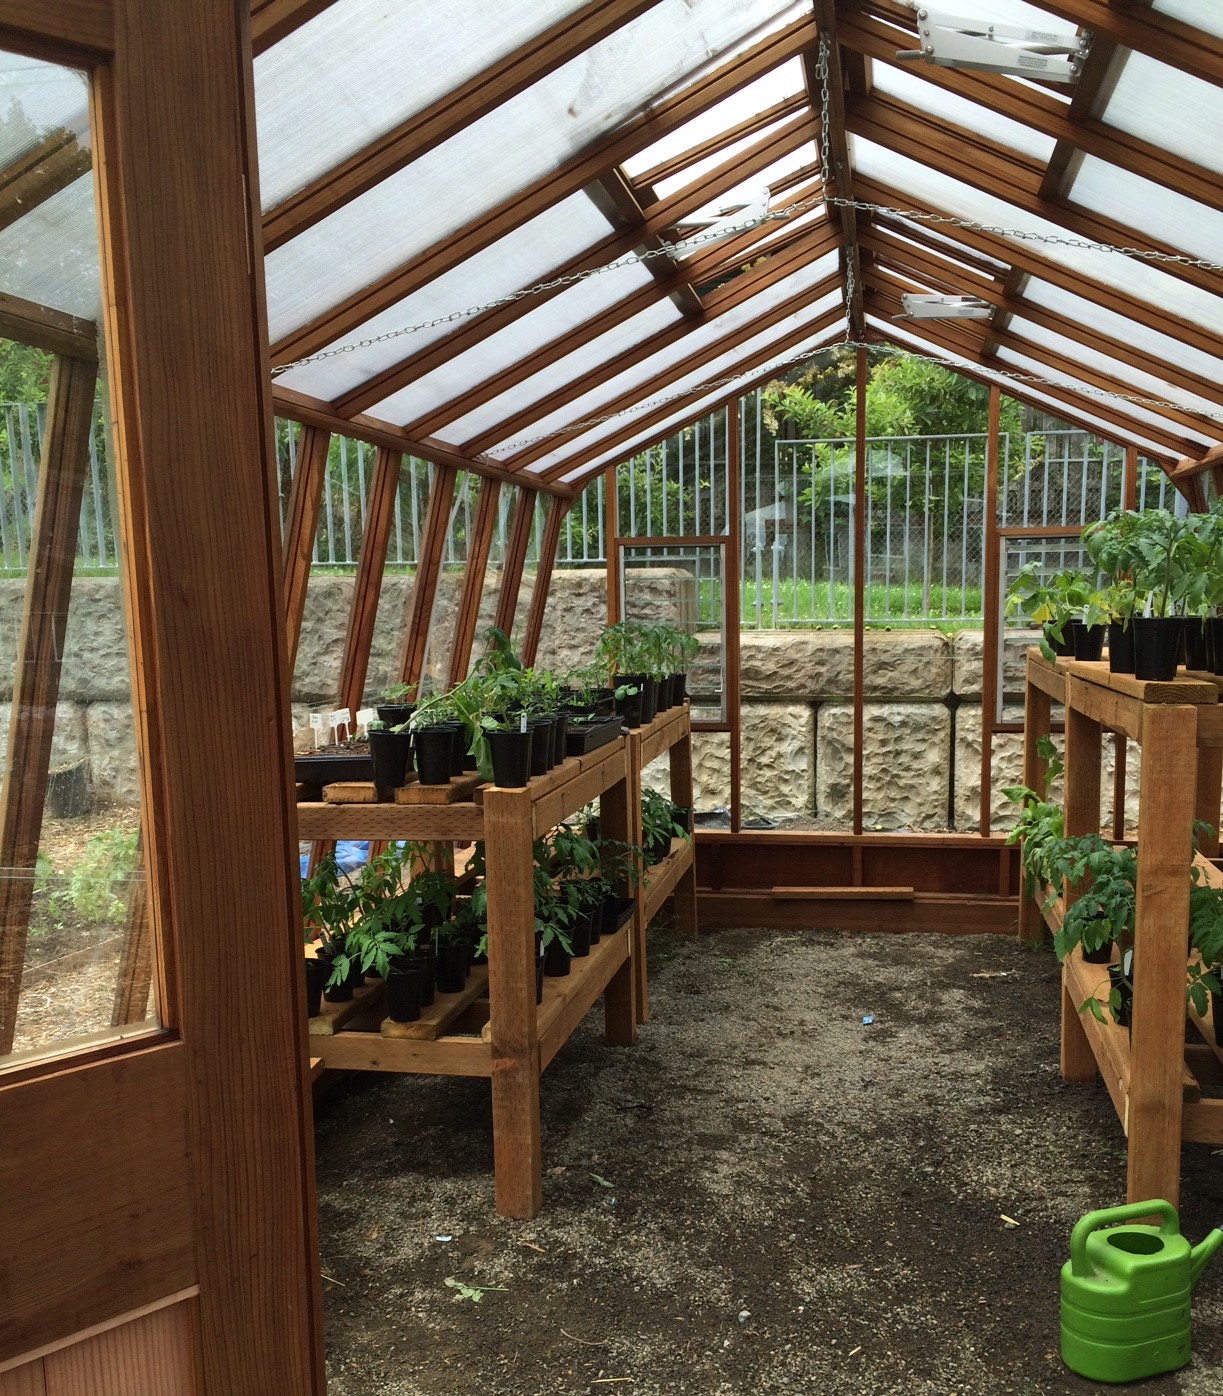
As you begin setting up garden beds and potting benches, you’ll want to consider how to make the most of your space. You’ll quickly find that the space within your greenhouse is limited, especially if you don’t use it efficiently.
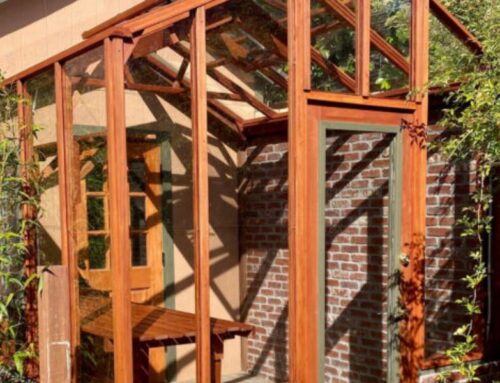
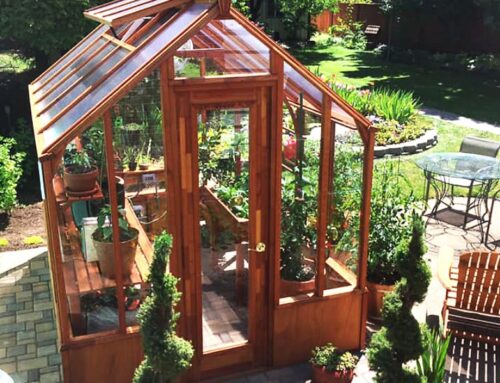
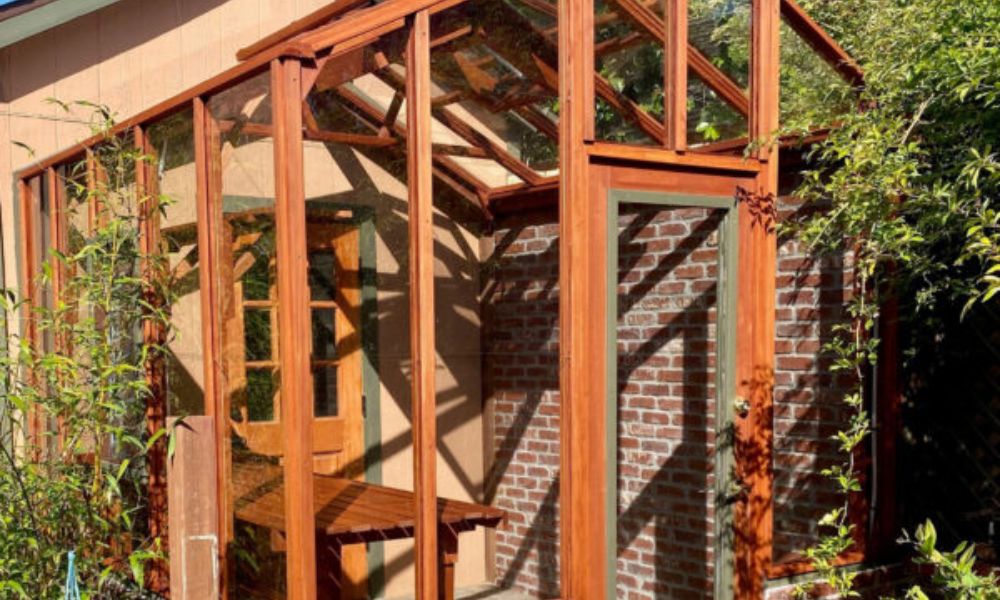
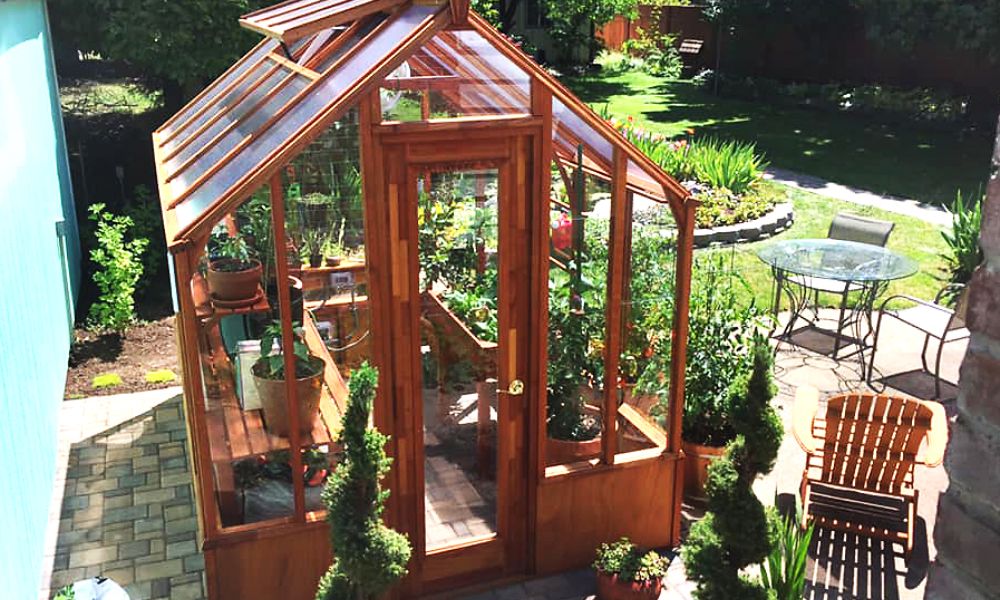
Start by considering your greenhouse’s design. For example, a Tudor greenhouse has a steep roof pitch that offers adequate vertical space for hanging planters or pots. This design helps you make the most of the space and provides some shade while you work. Shelving is another common addition for tall greenhouses, as it adds layers of growing space and can support heavy plants.
Setting Up Lighting
Lighting is another important aspect to handle once your greenhouse has been assembled. Natural lighting is best, but the beauty of greenhouses is their ability to grow plants long after the weather turns cold and sunlight hours shorten. Your biggest concern should be ensuring enough coverage for your entire greenhouse and that no plant is left on the fringes, desperately trying to get the sunlight it needs. We highly recommend you look for LED grow lights, as they’re both energy efficient and don’t produce much heat that could harm your plants if placed too close.
Securing Your Greenhouse
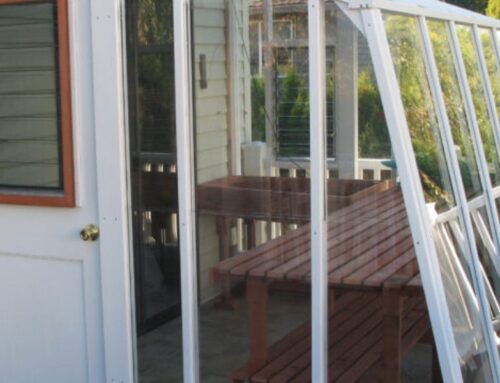
The last thing you want is for your beautiful greenhouse to tip over in the wind. If it’s not already secured to a foundation, then locate the holes or other attachments on your greenhouse provided for this very purpose. Staking your greenhouse into the soil isn’t always sufficient—unless you have long stakes and very firm soil. You may want to consider another anchoring option, such as concrete screws all along the bottom of the greenhouse’s frame.
Leave A Comment